Purge valves are the major part of a vehicle’s EVAP (Evaporative Emission Control System.) However, they malfunction over time. Sometimes cleaning can recover it. But how to clean the purge solenoid valve in your home garage so you can save on servicing costs?
You can clean the valves using two methods, light (without opening) and deep cleaning. The light cleaning method is easy to adapt, even for first-timers. Though, to do a thorough cleaning, you need some technical knowledge.
Whatever stage of expertise you have in the automobile, I’m gonna help you with all the possible ways to restore your purge solenoid valve through this instruction. But before heading into the guide, let’s check out the basics.
4 Reasons Why a Purge Valve Goes Bad
What causes purge valves to go bad depends on various reasons. Some everyday situations are –
ECU Crash
The Engine Control Unit, or ECU, is directly integrated with vehicle purge valves. When this unit malfunctions, the valves eventually stop working.
Dirt Build-Ups
The development of dirt-like fuel deposits is common inside automobiles. And they often cause blockages in the solenoid valves. As a result, they stop working after years.
Faulty Wires
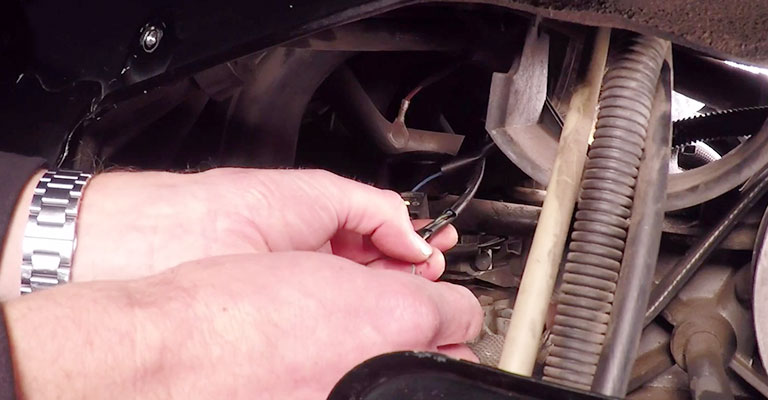
There is a chance that the connecting wires get worn because of either electric shocks or blockages. In any case, the valve will stop working and require a replacement.
Valve Leakage
Purge valves follow a consistent opening and closing method to support the evaporation process of the emission.
For any of the above reasons, if it’s stuck open, the fuel will flow back to your vehicle’s filler tube (while the engine is turned off.) This results in a leakage in the valve as it can’t handle the fuel pressure.
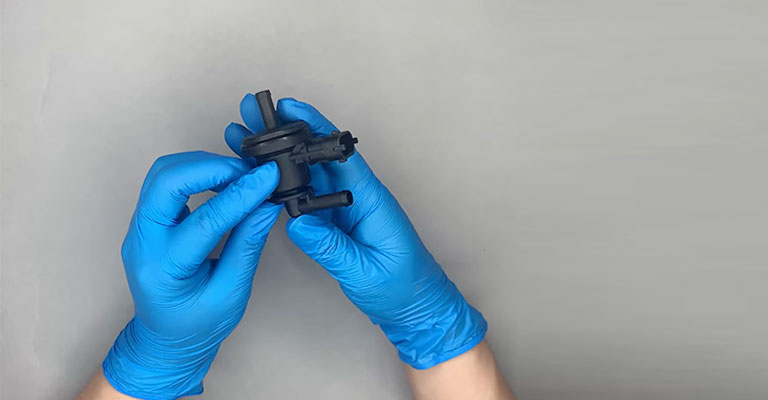
3 Parts of a Purge Solenoid Valve
Before jumping into the cleaning process, let’s take a look at the parts of a regular solenoid valve.
Casing/Cover
It protects the solenoid from external impacts, usually having 2 attachments to connect the fume’s inlet with the outlet.
Electric Plug
This is the controlling part of the unit that enables purging.
Flap and Internals
Plunger or flap combined with the rest of the internals make sure the fumes flow properly.
Light Cleaning a Purge Solenoid Valve (Without Opening)
To troubleshoot basic issues, make light cleaning of the valves. Follow the below steps to continue.
Purge Solenoid Valve Cleaner
You’ll need a MAF or carb cleaning spray to clean the valve without opening it. Simply apply some liquid to the valve’s pipes.
Then stick plastic paper on the opening ends of the pipes. You can use your fingers instead.
Shake the valve multiple times to spread the cleaner inside. Wait 10-15 minutes so the liquid can lose the dirt/carbon inside.
Clear the Liquid
Drain the cleaner from the valve’s pipes. You’ll witness all the dirt coming out from inside.
Then again, pour some cleaner and repeat the above steps until you’re satisfied with the result.
Clean the Connector and Switch
Lastly, you’ve to clean the valve’s connector with a contact cleaner. Hence, apply some cleaner inside it. Then, add some more inside the car’s switch. Finally, wait a while to dry the parts.
Deep Cleaning a Purge Solenoid Valve

In order to clean solenoid valves thoroughly, follow the below steps.
Step 1: Open the Casing
You’ve to open the valve with a screwdriver. Unscrew the valve. Remember, both ends of the valve are stuck firmly, especially the “Bosch” ones. And there is a high chance you got this one as it’s the most common model.
After unscrewing, you need to separate the casing parts, which are glued together. Use a small knife and use some hand force to open both ends. Be careful. Excessive force might break the casing.
Step 2: Detach Valve from the Case
After separating the casing, you’ve got 2 halves. The first one has a circular cap-like shape. And the other one has the functional channels of the purge valve. Moreover, you’ll find the electrical connectors there too. Next, carefully detach the cover/case and the solenoid’s body.
Step 3: Check Internals
Now inspect the “O rings” and other parts to see if everything is in fine condition. If there is an issue with the rings, you’ll have to replace the entire valve.
“If there is no visible issue with the electrical connectors, there is a high chance you got faulty O rings.”
Once, these rings used to be available to purchase separately but not anymore.
If rings are good to go, follow the next steps.
Step 4: Seal the O Rings and Rubber Parts
Apply some automobile lubricants inside and outside the “O rings” and rubberized parts. Clean it properly.
Then you’ve to reassemble all parts together. Proper sealing is essential. So, use some silicone grease to ensure this.
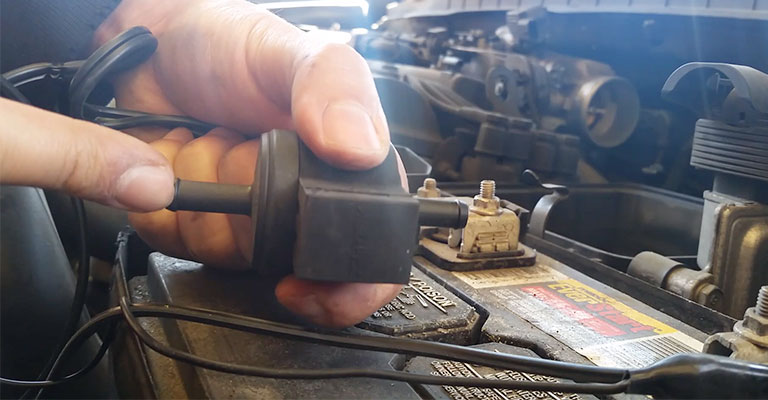
Step 5: Cleaning Solenoids
At this step, a deep cleaning is necessary inside the solenoid. The solenoid area is the 2 half-moon-like holes inside a valve.
Just like before, apply some MAF or Carb cleaning spray on the parts. Then rub the parts with a cloth.
Step 6: Wrapping up the Assembly
You’re now halfway through the whole process. After cleaning the parts, reassemble them together carefully.
To do so, insert the solenoid and connectors inside the case. Then apply some grease to seal the casing just like it was when you opened it. You can use epoxy glue for this purpose. Leave the parts to dry after applying the glue.
“Some people also prefer RTV rubber as epoxy glue makes it too hard to reopen the case later. However, I recommend glue as they give solid protection against leakage in the future.”
Step 7: Reinstalling Purge Valve in the Car
When the above steps are done, you need to install the solenoid valve back into your vehicle. To do so, connect both electrical connectors and vacuum lines.
Final Step:
The hardware setup is done. It’s time to play with the software issues now. After the installation, you must check the engine’s software to see if any bug exists.
To do so, first, scan the commands from the engine controlling system. Switch off the “check engine” feature there.
“The check engine feature will remain on if you can’t scan the system. In that case, keep it that way. If the valve-related problem is fixed, it’ll automatically turn off the feature and set up everything perfectly after some driving cycles.”
If the purge solenoid works fine, you’ll hear its flapping sound when driving or turning the engine on.
Frequently Asked Questions
Can I clean the purge valve solenoid?
It’s possible to clean any faulty purge valve solenoid. First, locate it. Then remove the unit from the car. Next, open all the parts of the valve. And lastly, clean it with a MAF cleaning kit.
Can you fix a purge valve yourself?
Unless you’re experienced with automobile repair jobs, it’s not wise to try fixing a purge valve yourself.
How to tell if the purge solenoid is bad?
If the purge solenoid is bad, you may find the below symptoms in your car.
- In a situation of a faulty purge valve, it’ll cause vacuum leakage. As a result, the engine will create louder noise when the car is idle.
- The engine will stop automatically after a while (besides at low RPM)
- Your car’s ECU system switches the light on if there is any problem with the valve (as the car’s system has EVAP error codes to respond in this situation.)
- Frequent startup issues will appear if there is an issue with the valves. For example, the car won’t start even after multiple tries.
- Slow acceleration is another common sign of a faulty purge solenoid valve. It happens when the valve leaks, and as a result, the engine loses power.
- You’ll witness significant fuel economy inefficiency due to the purge valve’s malfunction.
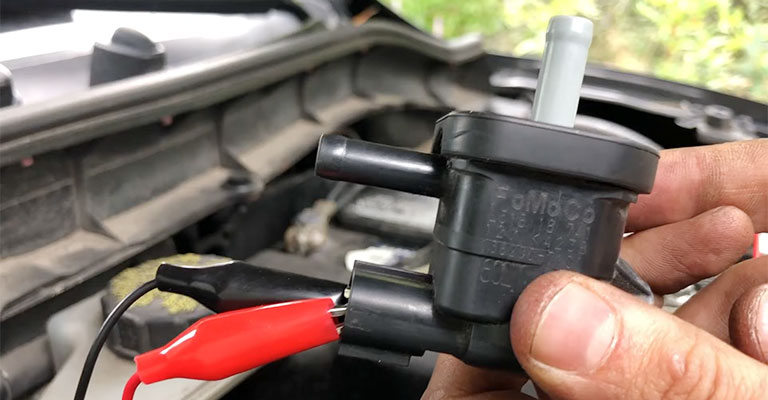
How to test the purge valve with a multimeter?
First, set the dial of the multimeter to OHMs. Then change the position of the probes to the power terminals.
Next, you need to inspect the output of different terminals’ resistance results. If it shows anything within 14-30 OHMs, your purge valve is working fine. The result requires repair or replacement if it is lesser or higher than the range.
Conclusion
That’s the wrap-up about how to clean the purge solenoid valve yourself. You can do either light or deep cleaning, depending on the status of the solenoid valve. Deep cleaning is a bit tricky, but the results show significant improvement afterward.
And the most common issues caused by the purge valve will be solved after this cleaning. However, if there is any defect in the hardware, you should consider replacing the valve with a new one.
Leave a Reply