Knowing the inner workings of a car is crucial for consistent upkeep. Before anything, you need to know your way through each part of the exhaust system, which is the heart of its engine health. Start with the key components – where is the EGR valve located, and what effect does it have on your car?
EGR stands for exhaust gas recirculation. You can easily locate it between the inlet and exhaust manifolds, where it is mounted on a channel. It is closer to the inlet manifold, with a connected tube from the exhaust manifold to its side.
But first, you need to know what an EGR valve does to know how to properly handle it.
What Is the EGR Valve and How Does It Work?
The EGR valve is one of the few key components of the EGR system of the vehicle. An EGR system is what reduces the nitrogen oxide emissions (or NOx) from your car.
To briefly touch on the EGR system, it works by gathering some of the exhaust gasses at the outlet and injecting them back into the combustion chambers of the engine through the intake manifold.
As a result, there’s about a 70% reduction of NOx right at the source of emission as well as a lower combustion temperature. This decreases pollution caused by the combustion engine. Not only is this exhaust system cost-effective, but it’s also better for the environment.
Moving on to the EGR valve — it is the center of the system which usually stays closed. It attaches the intake and exhaust manifolds to each other and is either controlled by a built-in electric step motor or vacuum.
Its main function is to control the flow of the exhaust gasses that are being reinjected into the combustion chamber. It works by limiting the amount of oxygen that makes contact with the exhaust gasses. Because of this, the combustion temperature is reduced. Consecutively, with a low combustion temperature and less oxygen, the production of NOx decreases significantly.
Locating the EGR Valve
Finding the EGR valve is simpler than it seems. Most people get overwhelmed by the inner workings of their vehicle that they shy away from searching for it completely. However, you will inevitably have to locate this valve for cleaning or replacement.
Here’s how to do it –
Step 1 – Open the Hood
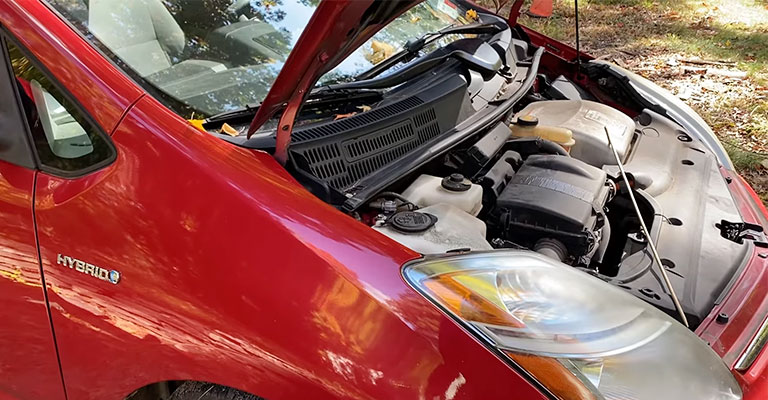
The EGR system and its main valve are found with all the other internal parts of your car. So, you will need to look under the hood for it.
Step 2 – Refer to Engine Stickers
An experienced mechanic can easily spot the EGR valve at first glance, but a beginner might be overwhelmed by all the different parts.
To assist you, there’s an array of stickers lining the edge of the hood where specific engine information is printed along with illustrations. Each sequence of stickers shows you details about all the parts in front of you.
In one sticker titled “Vacuum Hose Routing,” you’ll find the map of the EGR system. On this schematic, you can easily spot the label “EGR” at the center. You’ll also see a green line connected to it, which is the vacuum line.
Step 3 – Follow the Diagram
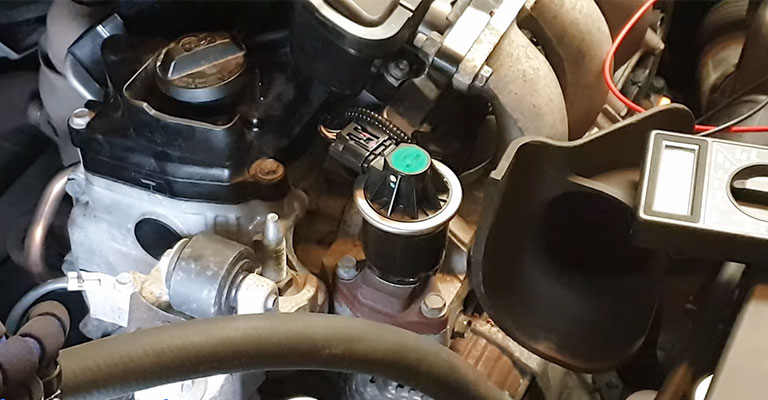
Now, all you have to do is follow the schematic to find the EGR valve, which is connected to a green vacuum line and the control solenoid.
The reason we’re asking you to refer to these stickers is that the EGR valve location varies between different vehicles. So, there’s no single rule for finding it.
If you’re confused about a step, you can check out this video for more assistance.
Cleaning the EGR Valve
Now that you’ve successfully located the EGR valve, you might be thinking about cleaning it. Before you begin, you should keep in mind that there are two kinds of EGR valves, which are the mechanical EGR and the electronic EGR.
Both of these valves have separate cleaning methods. Here, we’ll be going through the cleaning process of both. Let’s start with the mechanical EGR –
Cleaning Mechanical EGR Valve
Step 1 – Locate the EGR Valve
We have this step in more detail in the previous section.
To put it simply, refer to the engine stickers on the hood of your car and follow the schematic to locate the EGR valve.
Step 2 – Remove the Vacuum Lines
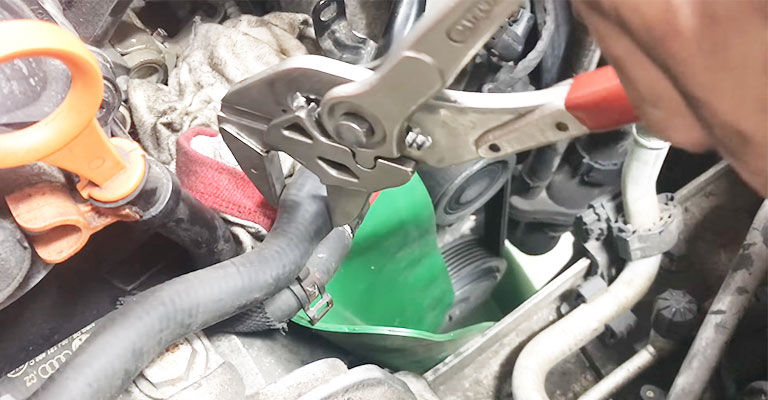
Make sure your vehicle is not running and completely disengaged from any power source. Carefully remove the vacuum hoses connected to the valve and observe them.
Spritz carburetor cleaner around and inside the lines and take a rag to clean out the residue. If you need to clean inside the lines, use a pipe cleaner instead of a rag.
Step 3 – Remove the Valve
Take your time and cautiously remove any mounting bolts holding the valve in place. Set them aside for later.
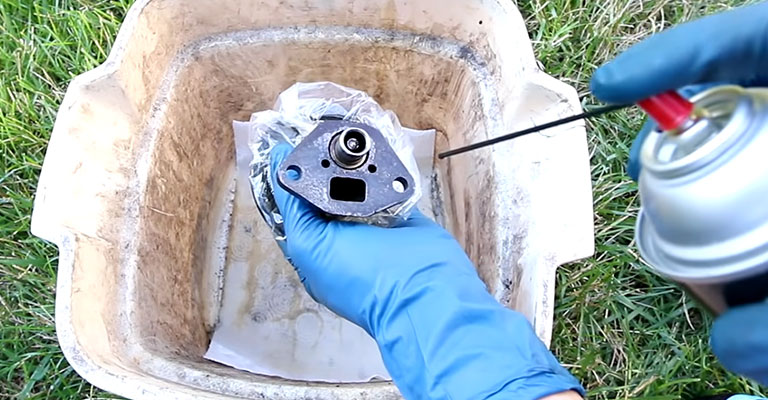
Inspect the mounting gasket. If it’s damaged or hard to clean, you may need to replace it. But if it’s still good to work with, leave it aside.
If there are clumps of dust, use a hand vacuum on a low setting to remove the filth. Then use a carburetor cleaner with a rag or toothbrush to scrub all the ports of the valve. Remember to wipe everything down with a dry rag to leave no wet spots.
Step 4 – Reattach Everything
Replace the mounting gasket and reattach all the mounting bolts. When everything is secure, carefully reattach the hoses to the valve, making sure to follow the schematic to correctly put the hoses into their designated ports.
Cleaning Electronic EGR Valve
Now, let’s move on to the electronic EGR valve cleaning method –
Step 1 – Disconnect Power Lines
Before starting anything, you need to make sure all negative battery cables are disconnected from the battery. This is a crucial step for your safety, as it will prevent any short circuits from the valve.
Also, remember to detach any sensors surrounding the valve as well as remove the mounting bolts holding it in place. Remove the mounting gasket and leave it aside if it does not require replacement.
Step 2 – Clean the Hoses and Valve
Use a carburetor cleaner to spray the valve and the hoses connected to it. Also use a rag, toothbrush, and pipe cleaner to get into the nooks and crannies of the parts.
As you’re working on an electrical valve, you will need to be very cautious with this step, to avoid getting the carburetor cleaner on any sensors or electrical lines.
Step 3 – Reattach Everything
Finally, put everything back into its place. Start with placing the mounting basket back and then redoing the mounting bolts. End with reconnecting the sensors and hoses.
How to Replace an EGR Valve
Since the EGR valve is always working, it might wear down and cause engine problems. Most people choose to have it replaced after it wears down, but it’s recommended to change it whenever you reach 40,000 – 50,000 miles on your vehicle.
Here’s how to replace it in simple steps –
Step 1 – Open the Hood and Locate the EGR Valve
Again, we have this step explained in-depth in our “Locating the EGR Valve” section. Refer to it for this step as well.
Step 2 – Dissemble the Air Filter
Start by removing the air filter assembly. This usually blocks the sight of the EGR valve. Do this carefully to not break any of the pipes.
Step 3 – Remove Mounting Bolts and Hoses
Use a wrench and unscrew the two mounting bolts holding the EGR valve in place. Then place the bolts aside for later.
Now, pull out the vacuum lines connected to the valve.
Step 4 – Test the EGR Valve
You need to make sure your EGR valve is tested before it’s replaced, otherwise, you could be replacing a perfectly good valve with another one and causing unnecessary expenditure. Plus, if there’s nothing wrong with the existing valve, it could be a sign that the problem is from another part.
Use a vacuum pump with a pressure gauge to check if your EGR valve is leaking. Simply stick the vacuum adapter on the valve, and pump.
If you see the arrow on the dial jumping up and down, it means the EGR valve is leaking. On the other hand, if the arrow stays in place, the EGR valve is fine and can hold the pressure.
Step 5 – Replace the New EGR Valve
Take your new EGR valve and position it where the old one used to be. Then take your mounting bolts and secure them in place. Reattach all the hoses and vacuum lines. Finally, put the air filter assembly back on.
For more details, check out this video tutorial which we used as a reference for our guide.
Frequently Asked Questions
- Can you replace an EGR valve yourself?
Yes, you can replace an EGR valve by yourself. The steps are very simple and it does not take much experience at all.
If you want to know the details of this process, check out the “How to Replace an EGR Valve” section of our article.
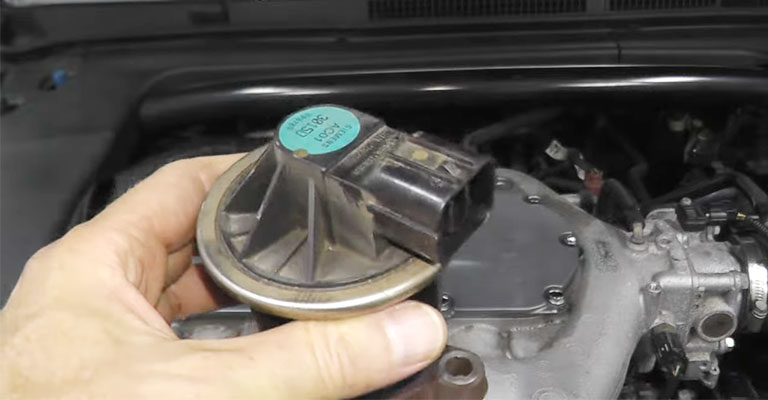
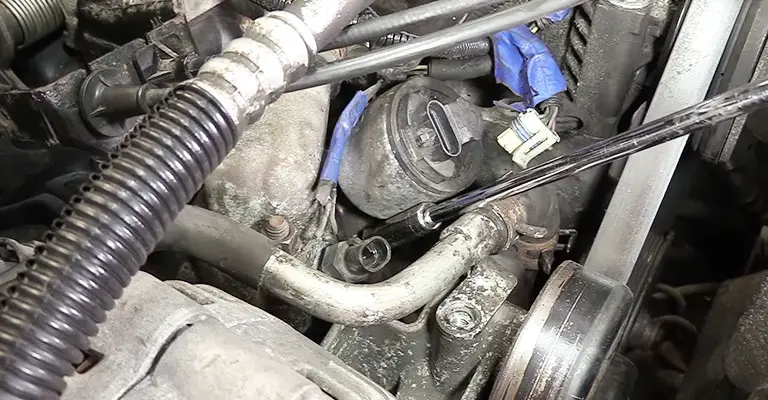
- What does an EGR valve look like?
Most people describe it as a UFO or spacecraft because its build resembles a dome. It’s found under the air filter assembly and connected to the vacuum lines of your vehicle’s exhaust system.
- Where are the vacuum hoses?
The vacuum hoses of your vehicle’s exhaust system are connected to the ports on the EGR valve. If you refer to the schematic stickers on the hood of your vehicle, you’ll see that the hose is a specific color, like green.
Conclusion
That brings us to the end of all our details on where is the EGR valve located. Again, all you need to do is pop the hood, find the schematic, and follow it to find the vacuum lines leading to the EGR valve itself.
We hope we’ve covered everything you want to know regarding the EGR valve, its function, and its location. Remember to check out the videos we have linked if you get lost in any guide.
Leave a Reply