Hard tonneau covers get the better of soft ones in terms of cargo protection. Not to mention how good they perform when it comes to weatherproofing. Anyhow, as no great thing comes easy, installing a hard tonneau cover is no exception.
How to Install a Hard Tonneau Cover
While installing a soft tonneau cover is somewhat easy, installing a hard one needs some elbow grease. So, you’re going to need some companions. However, you can do without a professional if you have at least some sort of DIY experience. If not, consider hiring a professional instead. The price range of tonneau cover is pretty handsome and you must not want to damage it.
With that out of the way, installing a hard tonneau cover consists of two major parts. You have to install the cover rails before moving to the cover itself. It might take a couple of hours to complete the installation. So, keep patience, and let’s get going.
Necessary Tools
- A screwdriver.
- A wrench.
- Shims (little plastic or rubber parts to fill gaps).
- Rubbing alcohol.
Start with the Cover Rails
Check Compatibility
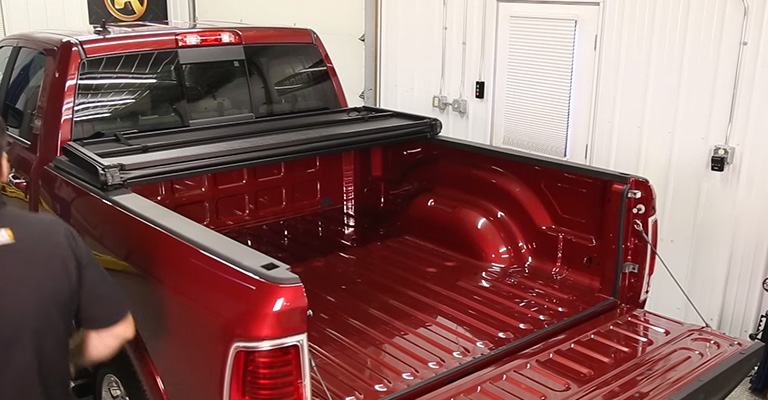
Check whether all the parts, including rail caps and bed liners, are compatible with the cover. In case your tonneau cover rests between the rails and not over them, consider it as a misfit. Also, beware of diamond plate bed rail caps since they can get in the way of weather-tight sealing. Make sure the tailgate stays open.
Place the Side Rails
Your tonneau cover should ship with two side rails for either the top or side of the bed rails. Pick one of the side rails up and place it on the bed rail. In front of the bed rail where it meets the cab, position a side rail flush.
For retractable covers, adjust the canister before you fix the side rail. Set the canister with the side rail once you have the cartridge perfectly aligned.
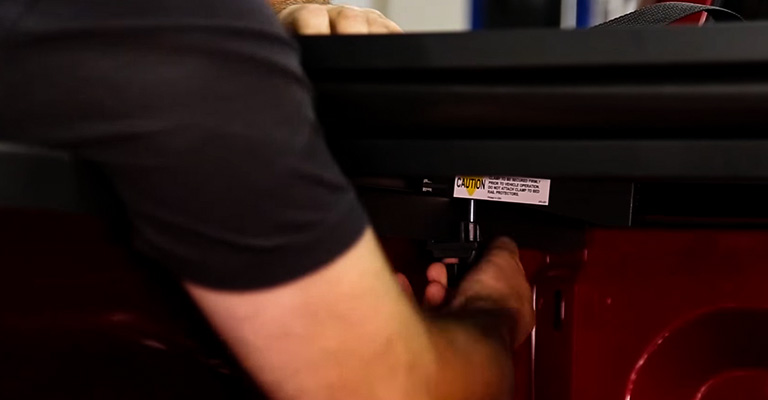
Clamp the Rails
Call a friend or use a clamp to hold the side rail in place. Now, use the toothed clamps that came with the cover to fix the side rail next to the cab. Start by fitting one of the clamps under the side rail. Then tighten by hand after lining the teeth of the clamp up with the grooves. Stop when you feel like it’s hitting the bed rail.
Apply Shims to Close Gaps
Look for any unwanted gaps between the truck and the rail. In case you find any, use plastic or rubber shims to close them. And if the gap is larger than 10mm, consider using shim brackets instead. Try unclamping the rail before applying the shim brackets. Once you’ve filled all gaps, clamp them back in place.
Use More Clamps
Place additional clamps for steadiness. Most hard tonneau covers ship with eight clamps for both sides. However, using three of them on each side should provide a firm grip. Repeat from step 3 to step 7 and install the second rail.
Align the Rails
Make sure to adjust the rails so that they both stay parallel with each other. You can loosen the clamp and adjust if the rails are somehow tilted. Don’t rush through this step. Otherwise, the cover won’t fit accordingly. Keep in mind that the rails might not align with the closed tailgate.
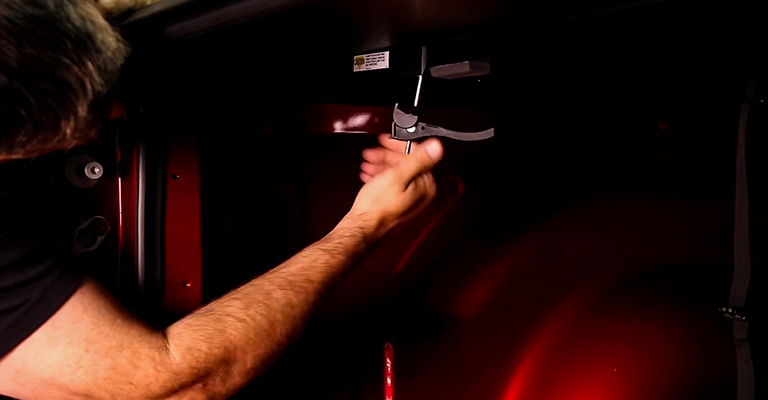
Tighten the Clamps
If you feel like the rails are in position, tighten all the clamps. Start from the front end and move all the way back to the rear of your truck.
Install the Cover
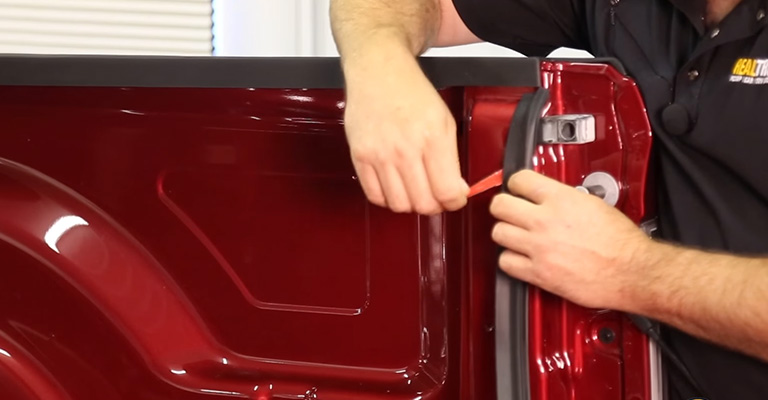
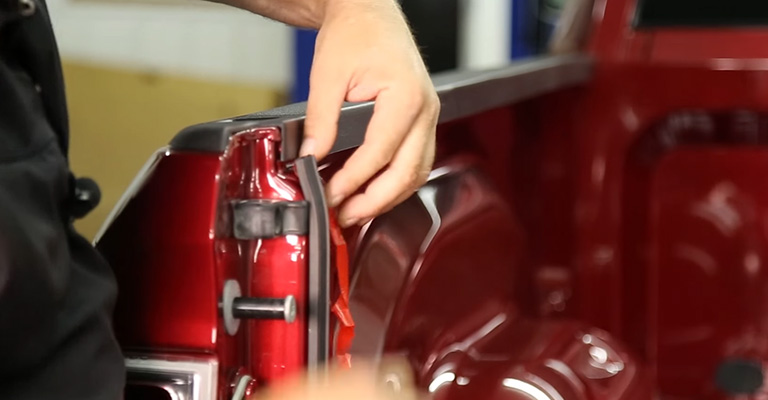
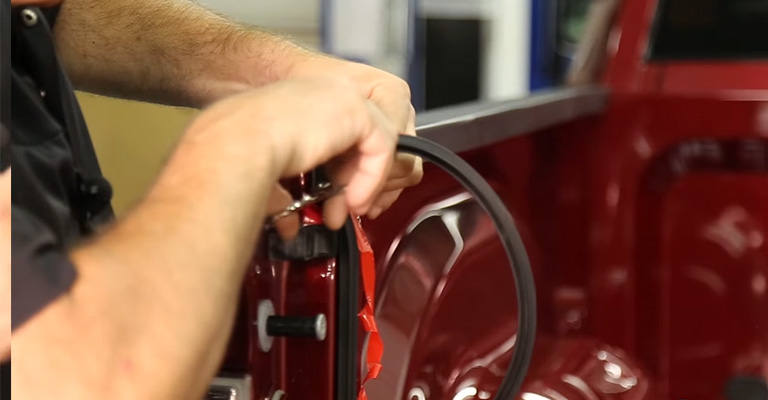
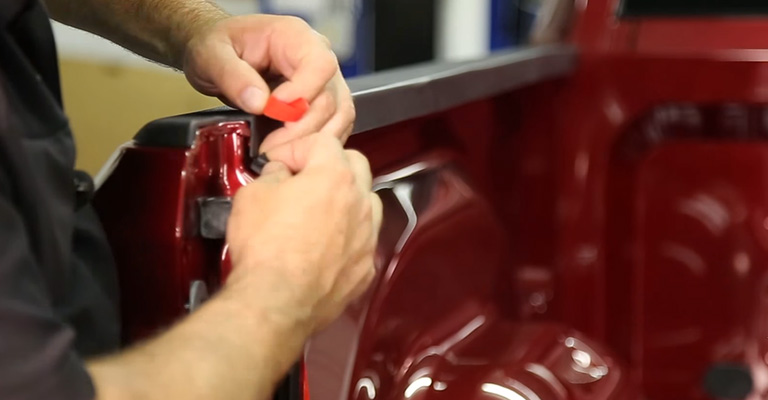
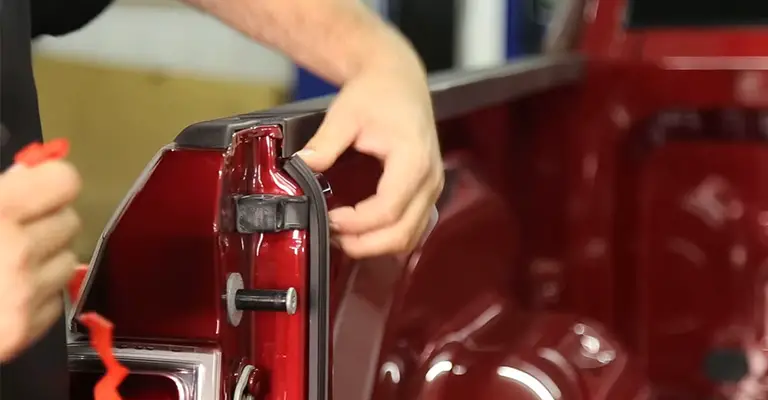
Place Rubber Seals
Hard tonneau covers, being mostly weatherproof, include rubber seals. Use rubbing alcohol to wipe down the area between the cover and the cab. Then start from the driver’s end and stick the rubber seal onto the cab between the rails. Cut the excess off, press the seal firmly, and peel off the backing paper.
Install Additional Parts
Your unit may come with additional components, including rods for propping the cover open. For such rods, use the hinges or screws to place one end on the side rails. Let the other end rest on the small cradle that comes along.
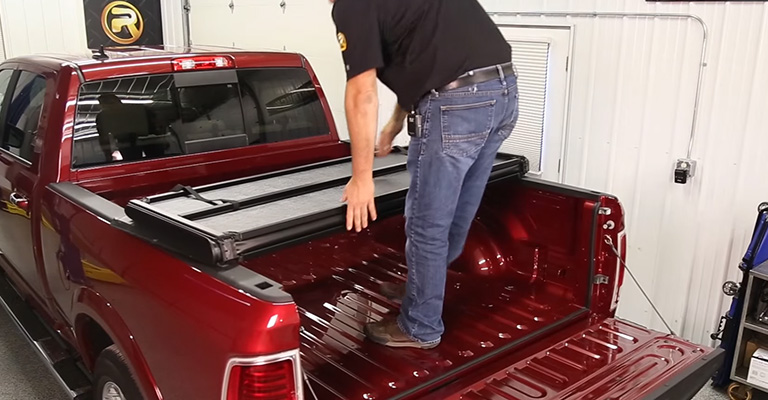
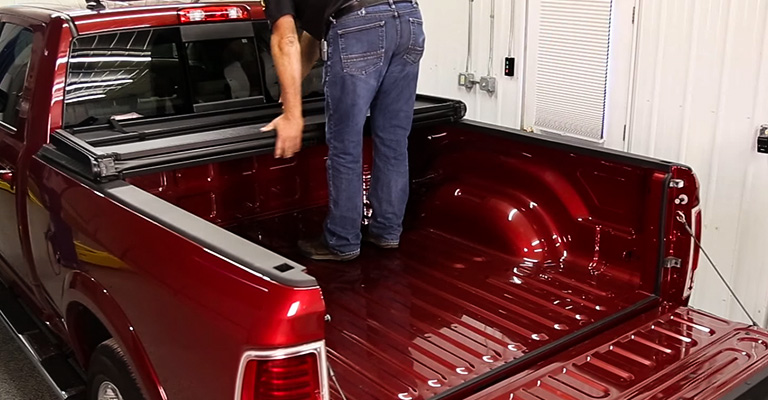
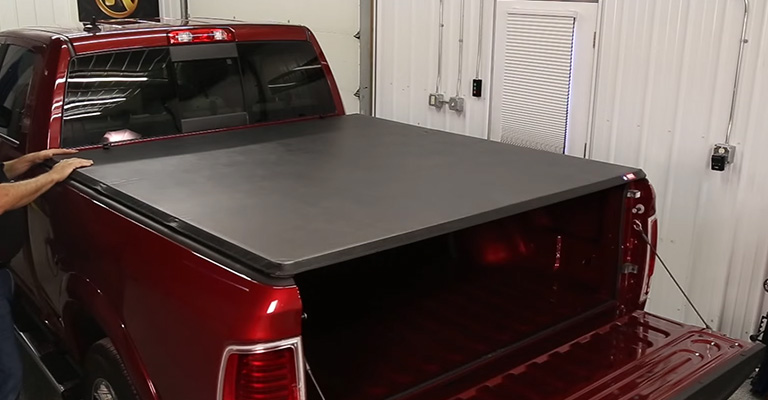
Place the Tonneau Cover
The next step is to position the cover on the rails. Get someone to help, especially if you’ve lifted the truck’s suspension. Lift the cover and position it at the end of the side rails. Give a slight push to make sure it fits snuggly. Close the tailgate and check if it shuts properly with no gaps left. Make adjustments if necessary.
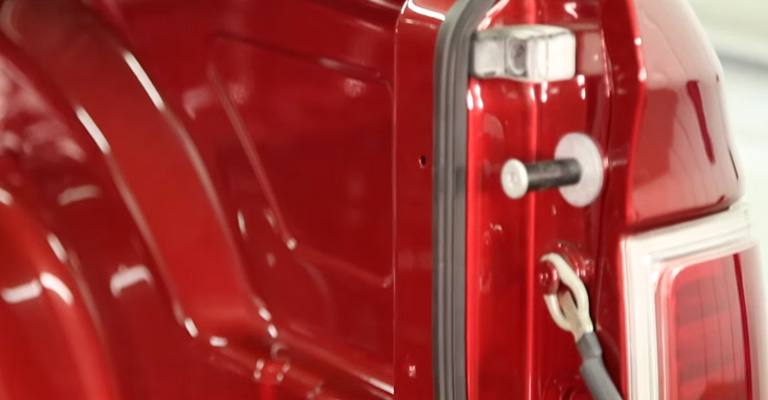
Secure with Bolts
If the packaging contains elevator or similar bolts, align them with the holes on the cover. Tighten the bolts and secure the cover with the side rails.
Tighten the Clamps
Start from the driver’s end and tighten all the clamps on the cover rails. Finally, check each joint and make sure there’s no way left for the cover to come loose.
Frequently Asked Questions
Q: Will the cover rails fit the length of the bed?
Ans: There should be a minor difference between the lengths of the cover rails and the truck bed. To be more precise, the gap at the edges should not exceed an inch. Consider getting a replacement if you notice a gap of one foot or more.
Final Words
That was one hell of an installation, eh? If you’ve still got components left in the box, it’s nothing to bother about. Those are probably drainage tubes for rainwater or bump stops for further protection. Follow the instruction manual, and it should be a piece of cake to attach them.
Leave a Reply