Driving a car with a manual transmission can be a fun and rewarding experience, but it can also be a source of frustration if you cannot shift gears. So, why the shifter moves but doesn’t change gears?
The shifter moves but does not change gears when the clutch is not engaged or when the gears are not properly aligned. Other causes could be a worn shift fork or a damaged transmission linkage.
In this article, we’ll discuss the causes and remedies of this issue so that you can get your car back on the road in no time.
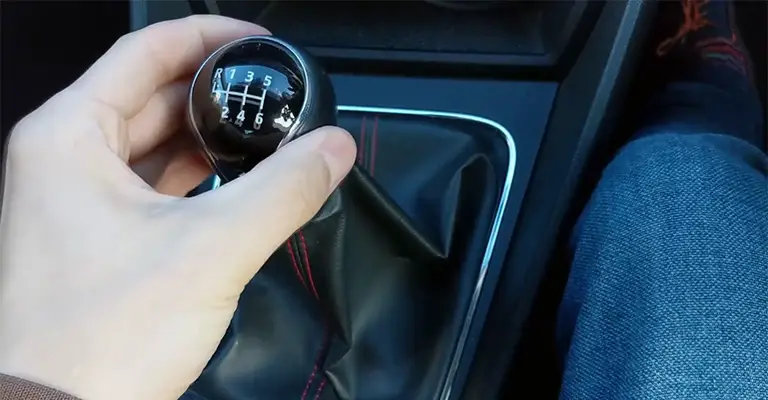
The Reason Shifter Moves but Doesn’t Change Gears
Why does the shifter move but not gear? That’s an important question to get straight. Wire or cable loss, poorly associated cable, fluid reduction, and other factors may occur in vehicles. Let’s look further down for more information.
Low Transmission Fluid
Transmission fluid is often blamed when the gear shifts, but the car refuses to go. Your automatic or manual engine can’t run without lubricant. Transmission fluid reduces friction between the gears and other moving parts within the gearbox.
However, this fluid also has the potential to wreck transmissions. Air pollution makes it tough to move around in a vehicle. Furthermore, your car will inevitably develop mechanical issues.
Clutch Disc Wear and Tear
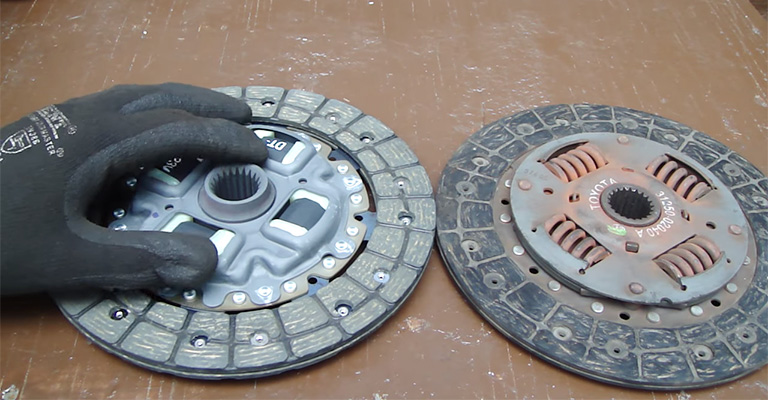
The clutch disc in your vehicle is tough, but it will need to be replaced at some point. Worn-out clutches can quickly ruin transmissions.
Maintenance on the clutch is a common service for manual vehicles, but there are measures you can take to extend the life of your clutch and keep your vehicle running smoothly.
Never “ride” your clutch; instead, shift into neutral whenever you need to stop for more than a second.
Torque Converter Failure.
Torque converters typically found in automatic transmissions include a pump, rotor, and turbine. You may experience “sliding” during gear changes if these parts fail. Your transmission may be affected even if you shift gears with the lever.
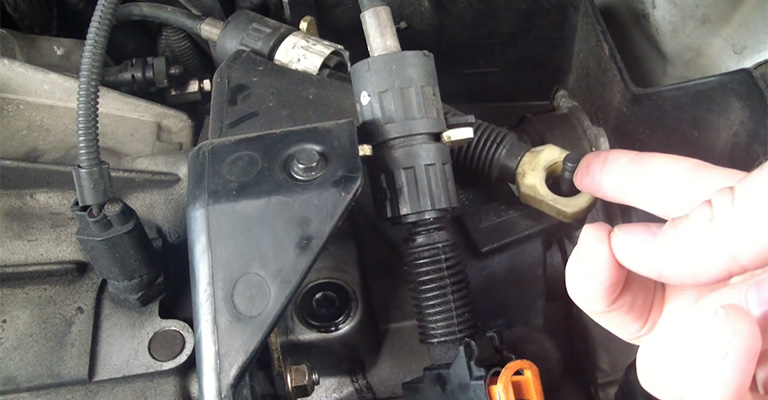
Gear Shifter Wire Is Loose
A cable runs from the transmission sensor to the gear shift in the vehicle. The cable is held in place at both ends using bolts and nuts.
Moreover, an adjuster is located at these nodes in case a longer cable set is required for the replacement. Under the inside gear selector, the shift cable was kinked.
Vibrations and wear from daily use might loosen connections at an incision. Due to the causes, these connectors didn’t have to stay in the designated tuning location.
This results in a free-moving gear shift, failed gear changes, and sometimes the erroneous gear being engaged.
Worn-out Gearshift Cable
So, when shifted, what does the cable do? In automatic gearboxes, the manual valve is located in the valve body and is controlled by a single shift lever. A flexible cable connects the gear shifter to the transmission.
However, these cables frequently break, kink, stretch, or tear due to regular use. It might not be the transmission if your automobile refuses to shift gears. Perhaps the shifter cable has snapped.
The gear lever moves off the switch when the cable moves. As an illustration, when a car’s extension switch wire goes from park to drive, the instrument cluster will read L or N.
If the cable shifter fails, the gearbox will no longer be connected to the shifter. Damage to either cable prevents the shifter handle from returning to the neutral position while the vehicle is not in gear.
How to Fix: The Shifter Moves but Doesn’t Change Gears
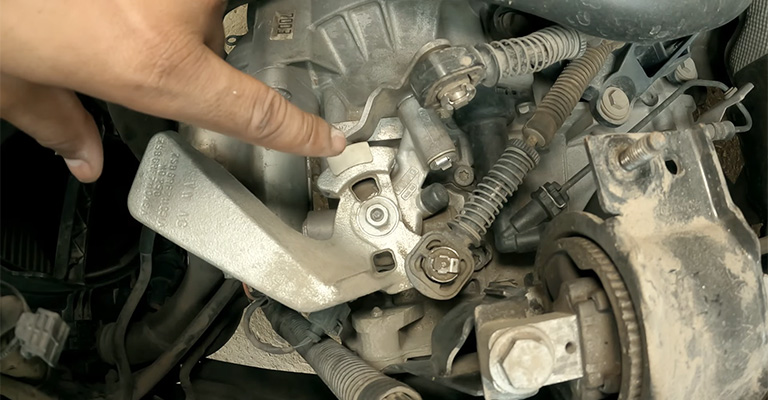
Once you’ve determined the cause of the issue, it’s time to start fixing it. If it’s a mechanical issue, the first step is to inspect the shifter, gearbox, and all the related components.
Replace the components if any of these components are worn out or damaged. If the issue is electrical, the first step is to check all the wiring and connections to ensure everything is in good condition.
Replace a Shift Cable
If the shifter cable is at fault, then it must be replaced. Replacement can be done easily at home with just a few supplies. Disconnect the battery to avoid electrical problems.
The shifter assembly can then be accessed by removing the console or the trim panel. A new cable will need to be installed after removing the old one, so ensure you can get to the shifter.
Before assembling everything again, make certain that all connections are solid.
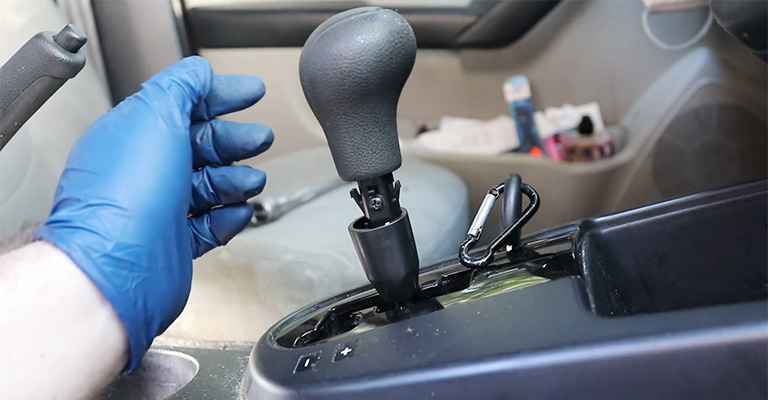
Fixing the Shifter
A good portion of your car’s interior will need to be disassembled to complete this repair, making it a more involved job. First, remove the center console or trim panel to get to the shifter.
It’s time to remove the gear shifter knob and the shoe. Doing so will unlock the actual shifter for use. With the shifter in your possession, you can determine whether it can be repaired or if a replacement is a better option.
A damage assessment is necessary to determine if a repair kit can be used to restore functionality. Replace the shifter if the damage is severe.
After finishing up with necessary maintenance or replacements, you can plug the car back together and plug in the battery. Check the shifter’s operation before you set out on a long drive.
Inspect the Clutch
A few things can be checked if you suspect the clutch is at fault. To begin, turn on the engine and let the vehicle sit in neutral. The engine’s rpm should drop in response to depressing the pedal.
To ensure the clutch is working, you can put the car in first gear and slowly let go of the pedal. If the clutch isn’t doing its job, the car should stall.
Clutch Rebuild: How to Replace It?
Not having a properly functioning clutch can make your vehicle stall or shudder as you shift gears. It’s best to replace a clutch as soon as you notice any wear.
Take out the Worn-out Clutch
To change to a new clutch, you must remove the old one. The pressure plate’s bolts must then be undone. The clutch disc can be accessed after taking off the pressure plate. You can take out the clutch plate by separating it from the flywheel.
Flywheel Cleaning
Cleaning the flywheel is the next step after removing the old clutch. Use a brush dipped in brake cleaner to clean the flywheel of dust or grime.
Replace the Clutch
When reinstalling the clutch, the first step is to reattach the pressure plate using the bolts you took out. When that’s done, the pressure plate can be secured with bolts.
After ensuring the pressure plate is in the correct position, set the flywheel in place and attach the clutch disc. Finish up by reconnecting the battery and bolting everything into place.
Test Drive
After installing the new clutch, you must put it through its paces. Take a spin around the block to gauge the vehicle’s performance. Assuming everything functions as it should, you can consider the job finished.
Performing Transmission Testing
The transmission in your car is a crucial component because it transfers power from the motor to the wheels.
Your vehicle may stall if the transmission malfunctions when trying to shift gears. Transmissions can fail anytime, so if you suspect yours is failing, you should check it immediately.
Transmission Fluid Level
Verify the fluid level as the first order of business. While the engine is warm, check the transmission fluid. To inspect the transmission fluid, locate the dipstick and pull it out.
Wipe the dipstick clean, then reinsert and remove it from the transmission. The dipstick should be used to check the fluid level, and more fluid should be added if necessary.
Try out the Gears
The gears will need to be tested after this. Set your car to drive and gradually accelerate. The transmission could have an issue if the car suddenly stops or jerks.
Do a Leak Check
Checking for leaks is another important step. Look for red stains under your car, often indicating a transmission fluid leak. Red stains are a sign that your transmission needs to be serviced immediately.
Pay Attention to Odd Noises
Finally, pay attention to any unusual sounds coming from the transmission if issues are commonly accompanied by grinding or whining sounds. If your car makes unusual sounds, you should check it out immediately.
As soon as you suspect the transmission in your vehicle is failing, have it checked out. If you follow the advice above, you’ll have a better chance of keeping your transmission in good working condition.
FAQs
How to Gearshift Correctly?
Manual transmission cars have a specific gear-shifting order. The usual order is 1st, 2nd, 3rd, 4th, and 5th. Release the clutch pedal, then depress the gas pedal to change from first to second gear.
Shifter Cables Last How Long?
Steel or other metal shifter cables last long. However, corroded metal will shorten the shifter cable’s lifespan. Shifter cables typically last the life of the vehicle. Replace your shifter cable as soon as you notice wear.
How to Extend Shifter Cable Life?
Shifter cables can be maintained. Start by regularly cleaning and lubricating the cable. Corrosion and damage will be prevented. Second, shift gears gently. This may prematurely break the shifter cable.
Finally, have a professional mechanic inspect your shifter cable regularly. They can detect issues early and prevent further damage.
How to Extend the Clutch Life?
There are ways to extend clutch life. First, shift gears gently. This strains the clutch and prematurely wears it out. Second, check your clutch fluid regularly. Low fluid can damage the clutch. Check your clutch more frequently than you generally do.
Final Thoughts
Why the shifter moves but doesn’t change gears? Because it simply moves the selector shaft and allows the transmission to shift on its own as dictated by the engine’s power demands.
It’s an important part of the overall operation of a vehicle, and keeping it in proper working order is essential for ensuring safe and efficient operation.
Taking proper care of your vehicle’s transmission is just as important as taking care of the rest of the systems and components, so it is important to pay close attention to any indication that something may be off and take appropriate action.
Leave a Reply