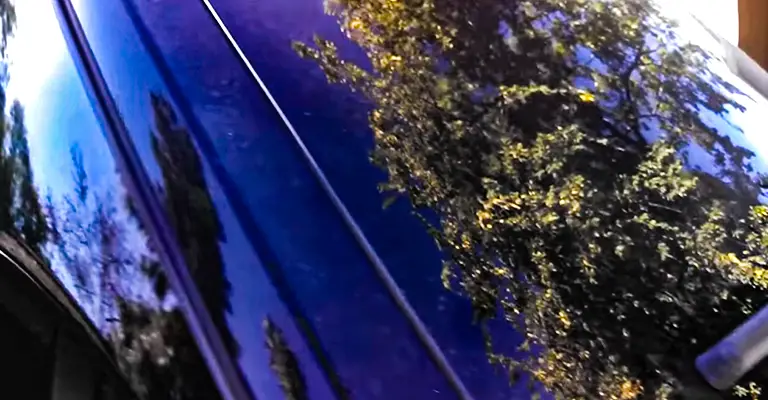
Hooks are the most common way to attach windshield wiper blades to the wiper arms in almost 90% of modern cars. However, the Chevy Equinox’s rear windshield wiper does not use hooks for its attachment. So, replacing them requires a new approach and can be done easily with some simple steps.
Steps to Replace Rear Windshield Wiper Chevy Equinox
Difficulties in removing the old wiper and adding in the new one arise only when you don’t follow the proper methodology. Following the proper steps and doing it a couple of times will ease the struggle you had to do to replace your wiper.
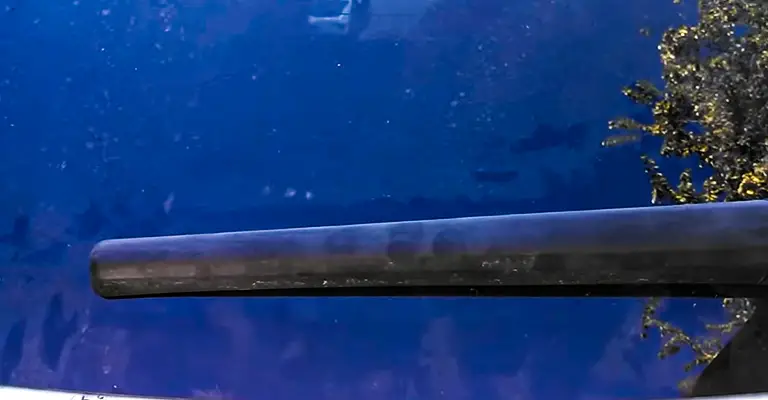
Step 1: Remove the Plastic Covering
Hold the broader part of the covering with your fingers and start wriggling while pulling up with a gentle force. When you hear a click and notice the broader part is now free from its previously firm position, place your hand around the middle of the cover. There is a hook inside of the cover that goes into a gap on the wiper.
Try to move the cover back and forth grabbing the center portion with one of your hands gently. You will feel some kind of hinge that’s not letting the cover get detached completely. Angle the cover towards the narrower portion and move it that way. The cover’s hook will detach and the cover will come off easily.
Step 2: Remove the Old Wiper
Lift the wiper arm and notice how the lower portion of the wiper blade hangs at the bottom leaving some space between itself and the arm. Locate the pinchable end of the wiper arm which is hooked into a gap of the wiper blade.
Press the pinchable end up against the wiper arm and push the wiper blade towards the screwed area of the wiper until the wiper blade releases itself from the wiper arm. The wiper blade is now free to move. So carefully pull it backward making little adjustments, as required, and remove the old wiper blade completely.
Step 3: Attach the New Wiper
You have already noticed how the old wiper came off. You just have to reverse the process to add the new one. Line up the new wiper in the correct direction. Locate the plastic joint that connects the arm with the blade.
Move the tip of the wiper arm in front of the plastic joint and into the adjacent gap. Then pull it back to connect the hook of the tip into the plastic joint. Holding the free end of the wiper arm, pull it away firmly and you will hear a click sound. After that, the new wiper is connected with the arm sturdily.
Step 4: Re-install the Cover
There’s a hook near the center of the cover. The hook goes into the gap adjacent to the joining point of the wiper blade and the wiper arm. Adjust the direction of the hook and slide it into the gap. The whole wiper is now covered. Apply pressure at the broader end until you hear a click to fix it in its previous position.
Why Replace Rear Windshield Wiper?
The rubber of the wiper blade may be damaged because of prolonged usage, physical damage, etc. You may hear noises from the wiper because it cannot slide as smoothly as it should. The wiper blade may also leave stain marks while wiping. These are why you should opt for a new wiper.
Conclusion
Although it may seem tricky at first, the steps are fairly easy and you should be able to do the whole process under a minute or two. Without the wiper, you won’t be able to use your read viewing mirror because dust and dirt will accumulate over time. So, you should follow these steps carefully and replace the wiper as required.
Also read –
Leave a Reply